Animations greatly improve overall user experience! This tutorial explains how to export and use an Adobe After Effects animation in your iOS, Android or React Native project, with Bodymovin and Lottie.
Animating your logo with After Effects
The first part is creating the animation with Adobe After Effects. After Effects is a powerful tool that is used to create digital visual effects and motion graphics. Starting with After Effect is fairly easy. Animating a logo for example will take you a few hours. Read my last blog post and go for it: Adobe After Effects: how to get started?

This tool is mainly used in film and television production although is also popular to create UI/UX animations among designers.
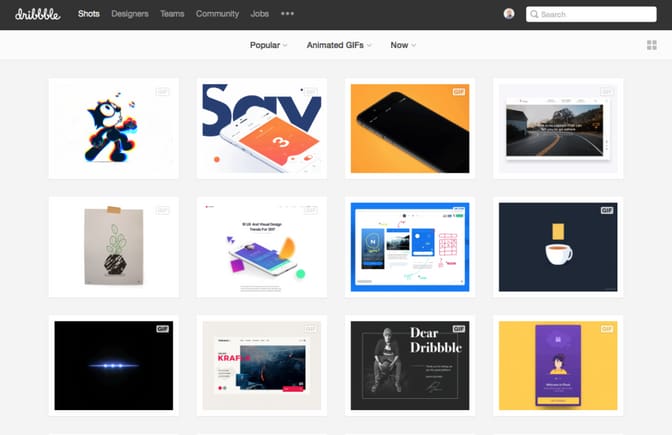
If you need inspiration, you can see many examples of animations in the popular website dribbble.com.
In this tutorial we won't cover how to create an animation, but how to use it in your app.
To export and use an animation in your App, you can use Bodymovin and Lottie. As we will see in this post, both of them have advantages and limitations. It's better to be aware of them before starting your work on your animation.
Exporting the animation with Bodymovin
Once we have the animation created the next step is to export it with Bodymovin.
Bodymovin is an After Effects plugin for exporting animations into a JSON file. Bodymovin is an open-source project. We can follow the current state of its development.
There are different ways to install Bodymovin plugin. The easiest/recommended way is to download the zip file from the github repository, then extract the contents and get the .zxp file from ‘/build/extension', and finally use the ZXP installer to install it in After Effects.
After this, the process to export the animation is simple and straightforward. Follow these steps:
1.- Open your After Effects project and select the Bodymovin extension on Window > Extensions > Bodymovin .
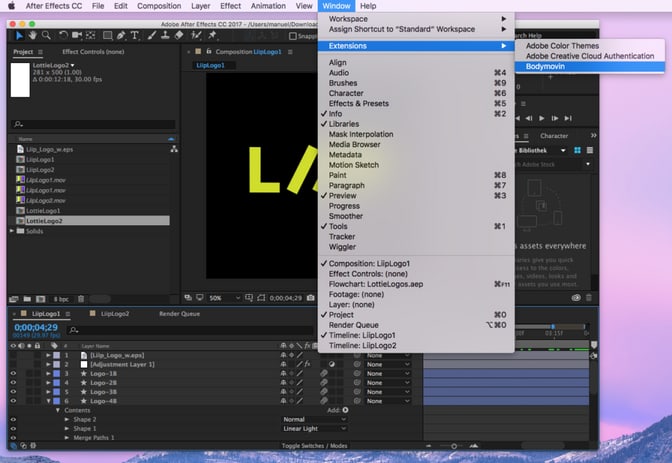
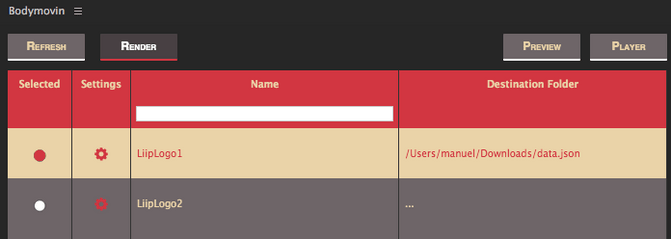
2.- Click refresh to get a list of all your project compositions, then select the composition you want to export.
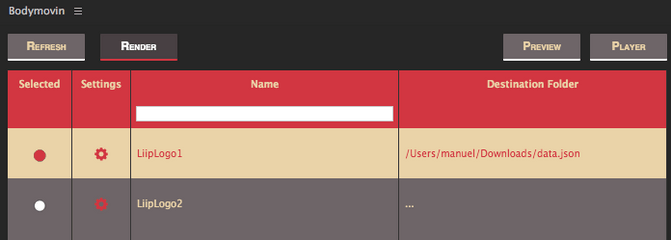
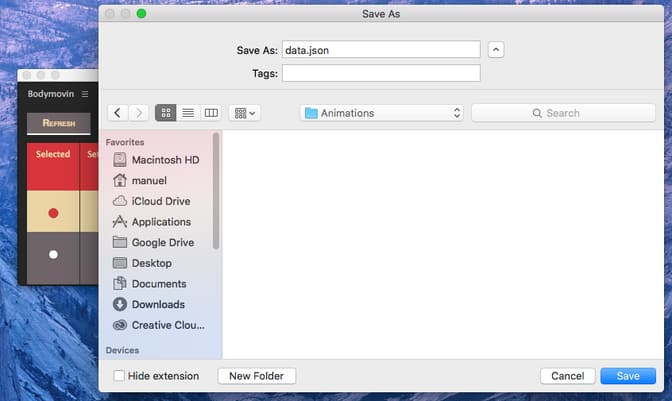
3.- Select the destination folder for each of the compositions you want to export and save the JSON file.
4.- And finally click render .
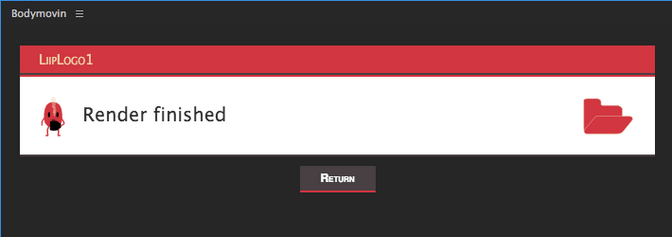
5.- Hooray! Animation is exported into a JSON file so we can move to the final part of our tutorial.
Using Lottie to import the animation in your project
Once the animation is created and exported into a JSON file it's time to import and render it into to your App project. Thanks to AirBnB now we can do this with Lottie .
Lottie is a new open source library coming from the AirBnB Engineering department which helps you to add high-quality animations to your native app.
The basic idea of Lottie is that renders an After Effect animation in real time, allowing you to use animations as easy as adding a new view/layer to your iOS, Android or React Native App.
Continuing with our example, at this step we are going to import the data.json file that we have exported from the previous step into the iOS project.
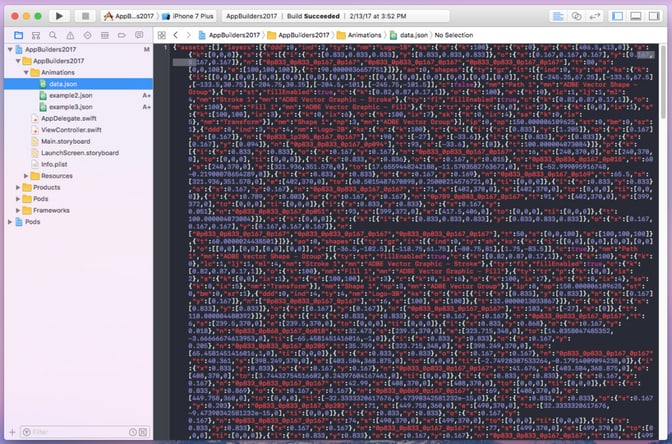
The next step is to add the Lottie Library to your project.
Including Lottie in your iOS project
This can be done easily using CocoaPods since the project is CocoaPods compatible.
pod 'lottie-ios'Then import the framework in your class.
import lottieOnce the framework is imported, it's time to add the LOTAnimationView to your view.
let animationView = LOTAnimationView.animationNamed("data")

self.view.addSubview(animationView!)
And finally play the animation.
animationView?.play(completion: { (finished) in

 // Do Something

})
Including Lottie in your Android project
To include it in your Android project start by adding the dependency in your build.gradle file.
dependencies {
  compile 'com.airbnb.android:lottie:1.0.3'
}
After downloading the library, it's time to add the view your your project and play the animation.
LottieAnimationView animationView = (LottieAnimationView) findViewById(R.id.animation_view);
 ...
 LottieComposition composition = LottieComposition.fromJson(getResources(), jsonObject, (composition) -> {
     animationView.setComposition(composition);
     animationView.playAnimation();
 });
Including Lottie in your React Native project
To get started install the node module in your project.
npm i --save lottie-react-nativeFor iOS, add the pod your Podfile.
pod 'lottie-react-native', :path => '../node_modules/lottie-react-native'For android, you can react-native link as well.
react-native link lottie-react-nativeExample of how to use it in your code.
import React from'react';
import Animation from'lottie-react-native';

export defaultclassBasicExampleextendsReact.Component {
  componentDidMount() {
    this.animation.play();
  }

  render() {
    return (
      <Animationref={animation=> { this.animation = animation; }}style={{width:200,height:200,        }}source = {require('../path/to/animation.json')}
      />
    );
  }
}
Why Lottie?
The main advantage of using Lottie is that animating CALayers (iOS) to generate complex animations is a tedious and very complicated job, instead it's more user friendly to create the animation using After Effects.
Current Limitations with Lottie
At the current time of writing this post, there are some important limitations when using After Effects+Bodymovin+Lottie combination.
One of the most important limitations are that there is no support for animating text layers as well as animating image layers using Lottie.
Because Lottie library is an open source project we can see for each platform the current development status and the list of feature requests for iOS, Android or React Native.
Conclusion
Creating a visually complex animation with After Effects takes time but it takes even more time to code it in a native app. From my point of view there is no need for small and simple animation to use the After Effects+Bodymovin+Lottie combination. On the other hand I do recommend using this animation stack for more complex animations.
Furthermore, before designing an animation with After Effects is very important for the designer to be aware of the current limitations of Bodymovin and Lottie at the time of designing it so there are not any visual differences of the final result.
Manuel Escrig @manuelescrig

